
Close-ups of minifigures look amazing, but getting crisp, detailed shots takes a bit of know-how. This guide covers the essentials: lens, ISO, aperture, shutter speed, light and focus. It works with a mirrorless or DSLR camera and, with a few adjustments, with a smartphone.
1. Choose the right lens
For close-ups, a macro lens is your best friend.
- Mirrorless or DSLR: a 50mm or 100mm macro lens.
- Smartphone: clip-on macro lenses work surprisingly well.
A macro lens lets you get really close and capture tiny details, like a sly grin or a custom print on your minifigure.
2. Set your ISO
ISO controls how sensitive your camera is to light.
- Start low: ISO 100 or 200 gives the cleanest image.
- Go higher only if needed: if the photo is too dark, raise the ISO, but too high makes it grainy.
3. Adjust your aperture
Aperture is the opening in the lens that lets light through, measured as an f-number.
- For a blurry background: use a wide aperture (f/2.8 or f/4). The minifigure stands out and the background turns soft.
- For everything in focus: use a smaller aperture (f/8 or f/11), but you will need more light.
4. Dial in the shutter speed
Shutter speed decides how long the sensor sees the scene.
- Keep it fast when handheld: don't go slower than 1/60 second, or you risk blurry photos.
- Use a tripod for slower speeds: minifigures don't move, so a tripod lets you use longer exposures when you need more light.
5. Light it up
- Natural light: a sunny window is perfect.
- Artificial light: point a desk lamp at a white wall or sheet of paper for soft, even light without harsh shadows.
6. Frame and focus
- Get down low: minifigures are tiny, so shoot from their eye level for a more dramatic effect.
- Focus manually: autofocus can miss small faces. Switch to manual and make sure the eyes are sharp.
Behind the scenes: a small build that feels immersive
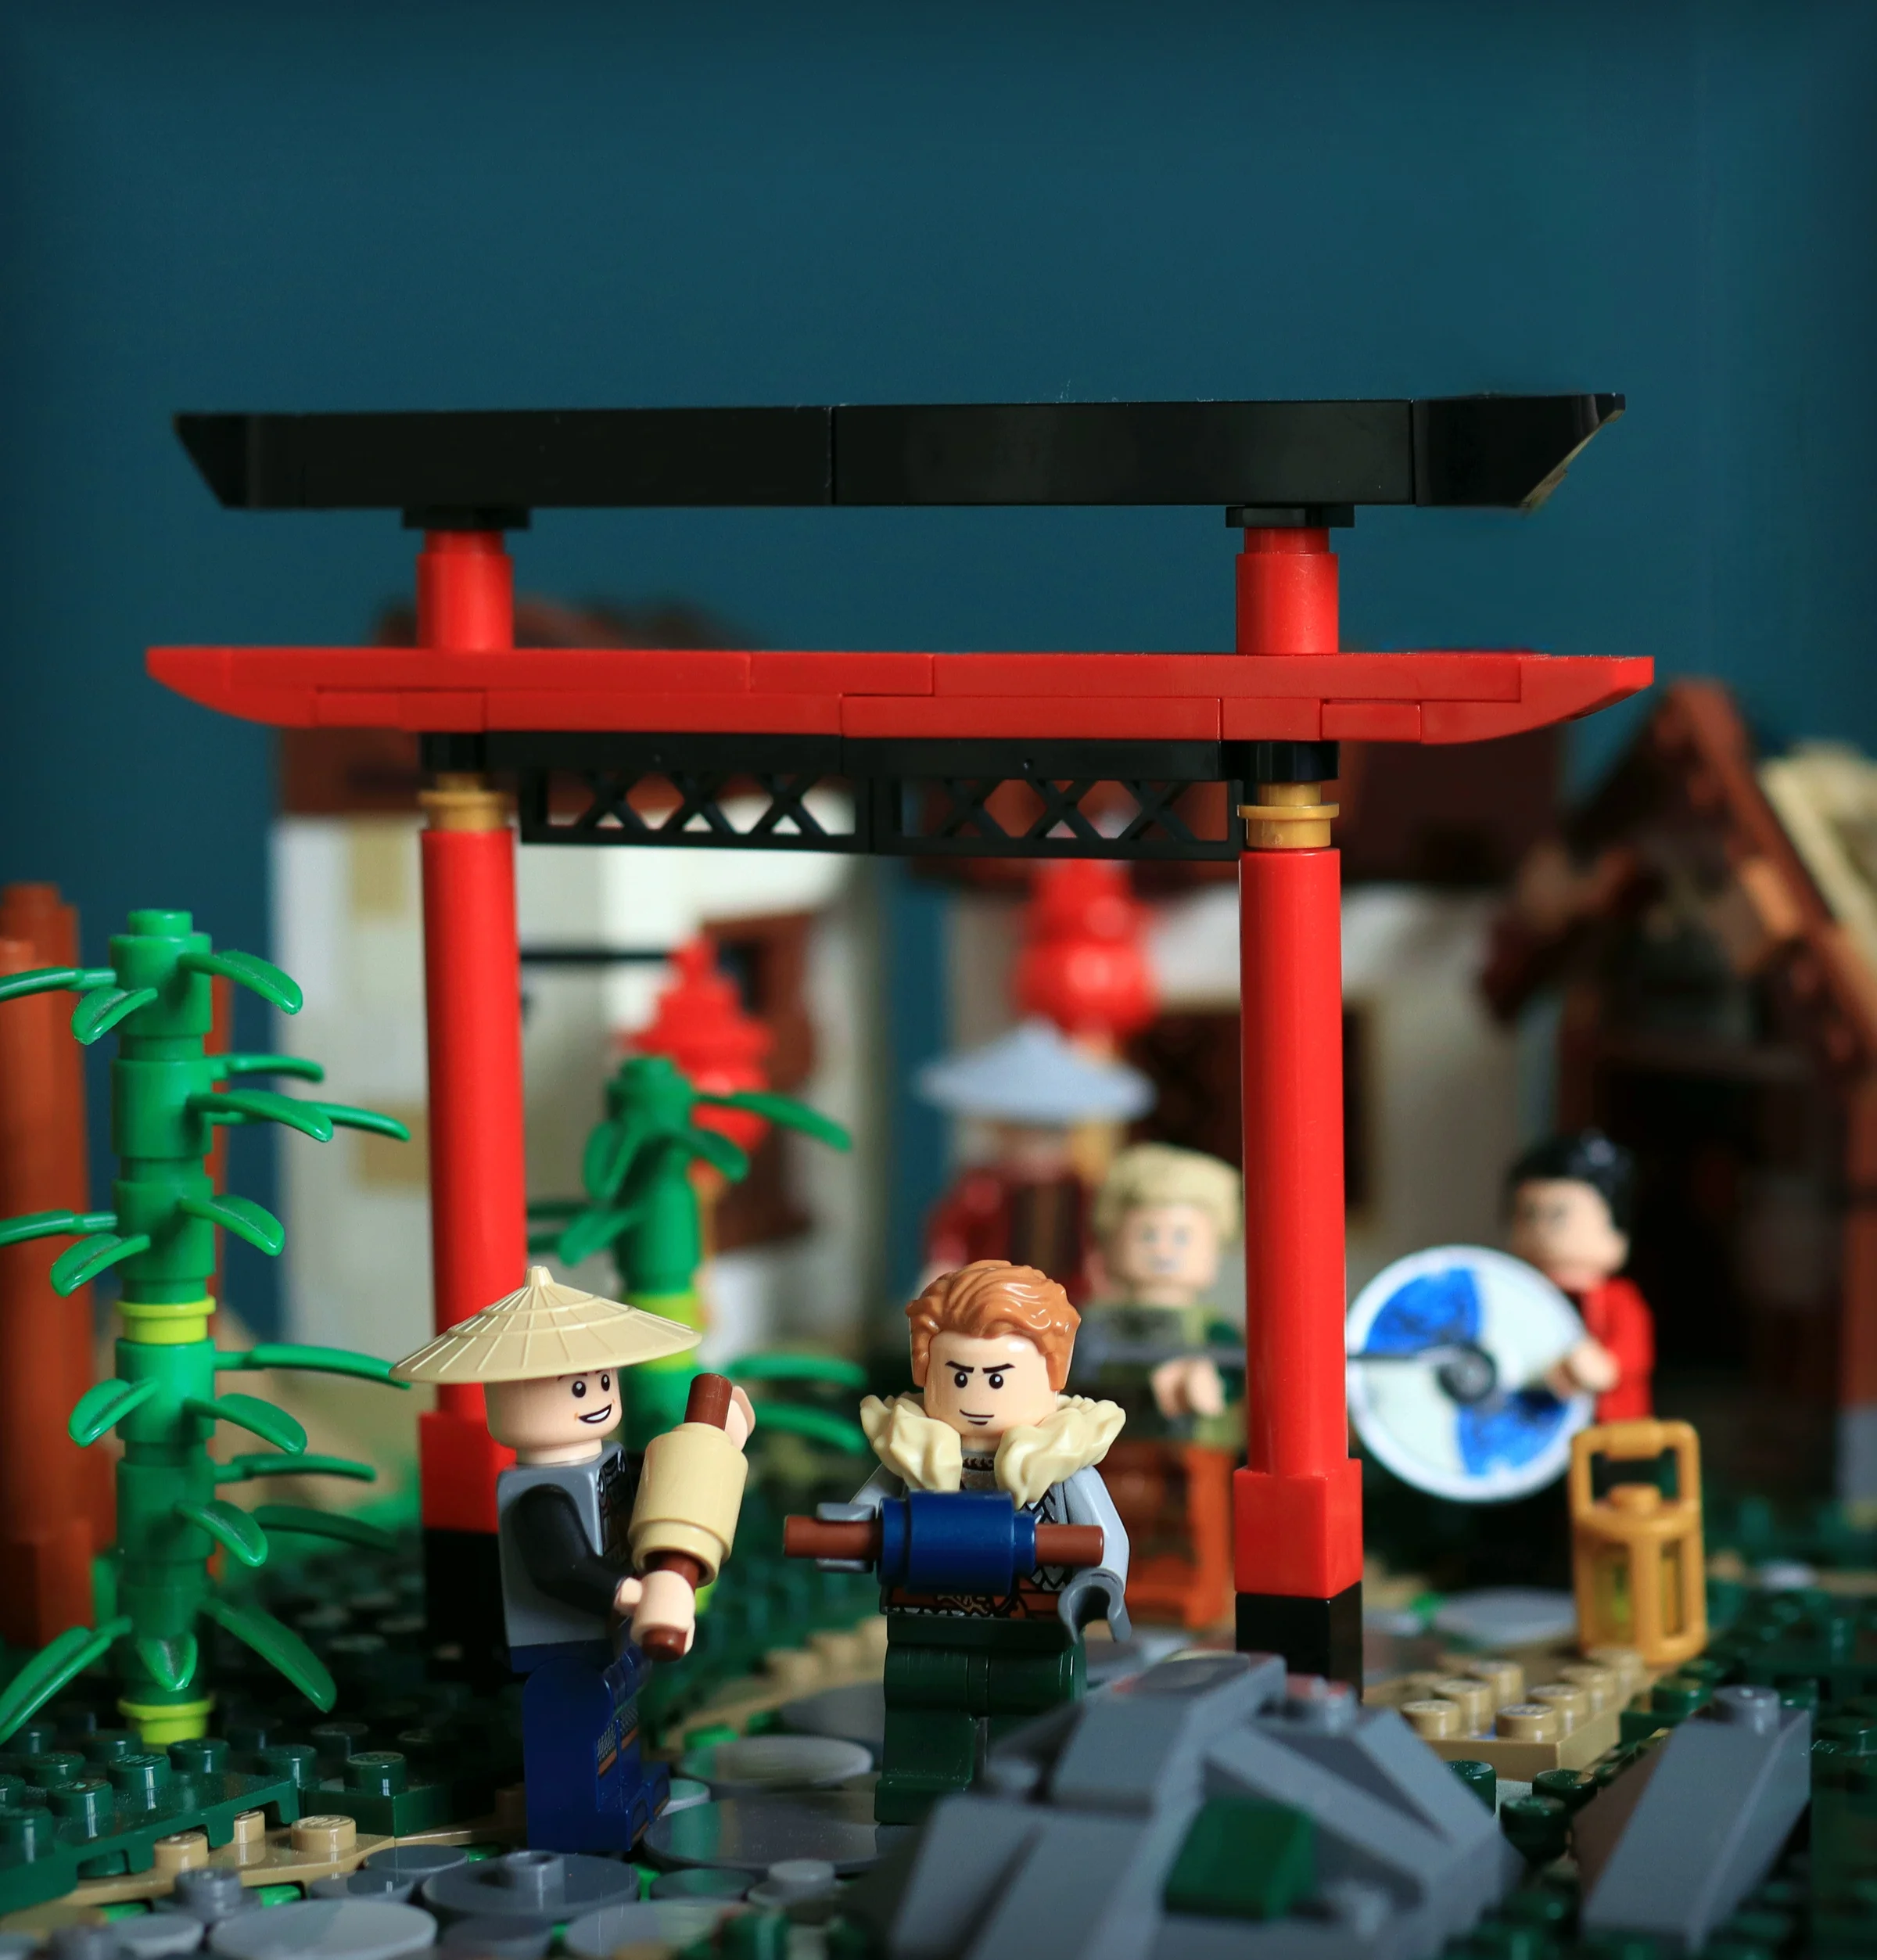
A close-up doesn't need a big build. In my Viking journey on the Silk Road series, this is the photo of the Vikings arriving in China. It looks like a large, immersive scene.
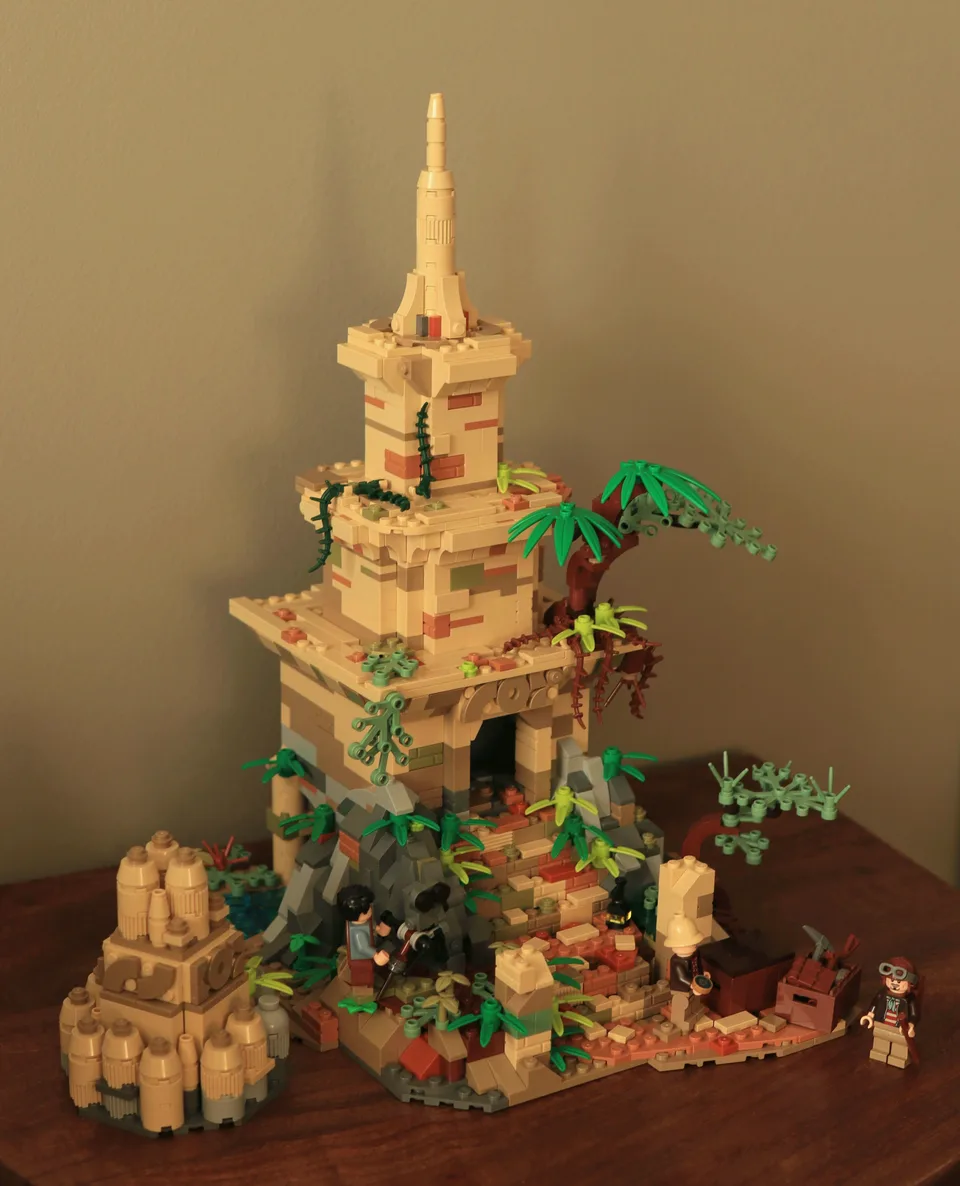
Now look at the same build from the front. It is really small. I framed the close-up so that only the part that matters ends up in the picture, and the rest of the build stays outside the frame.
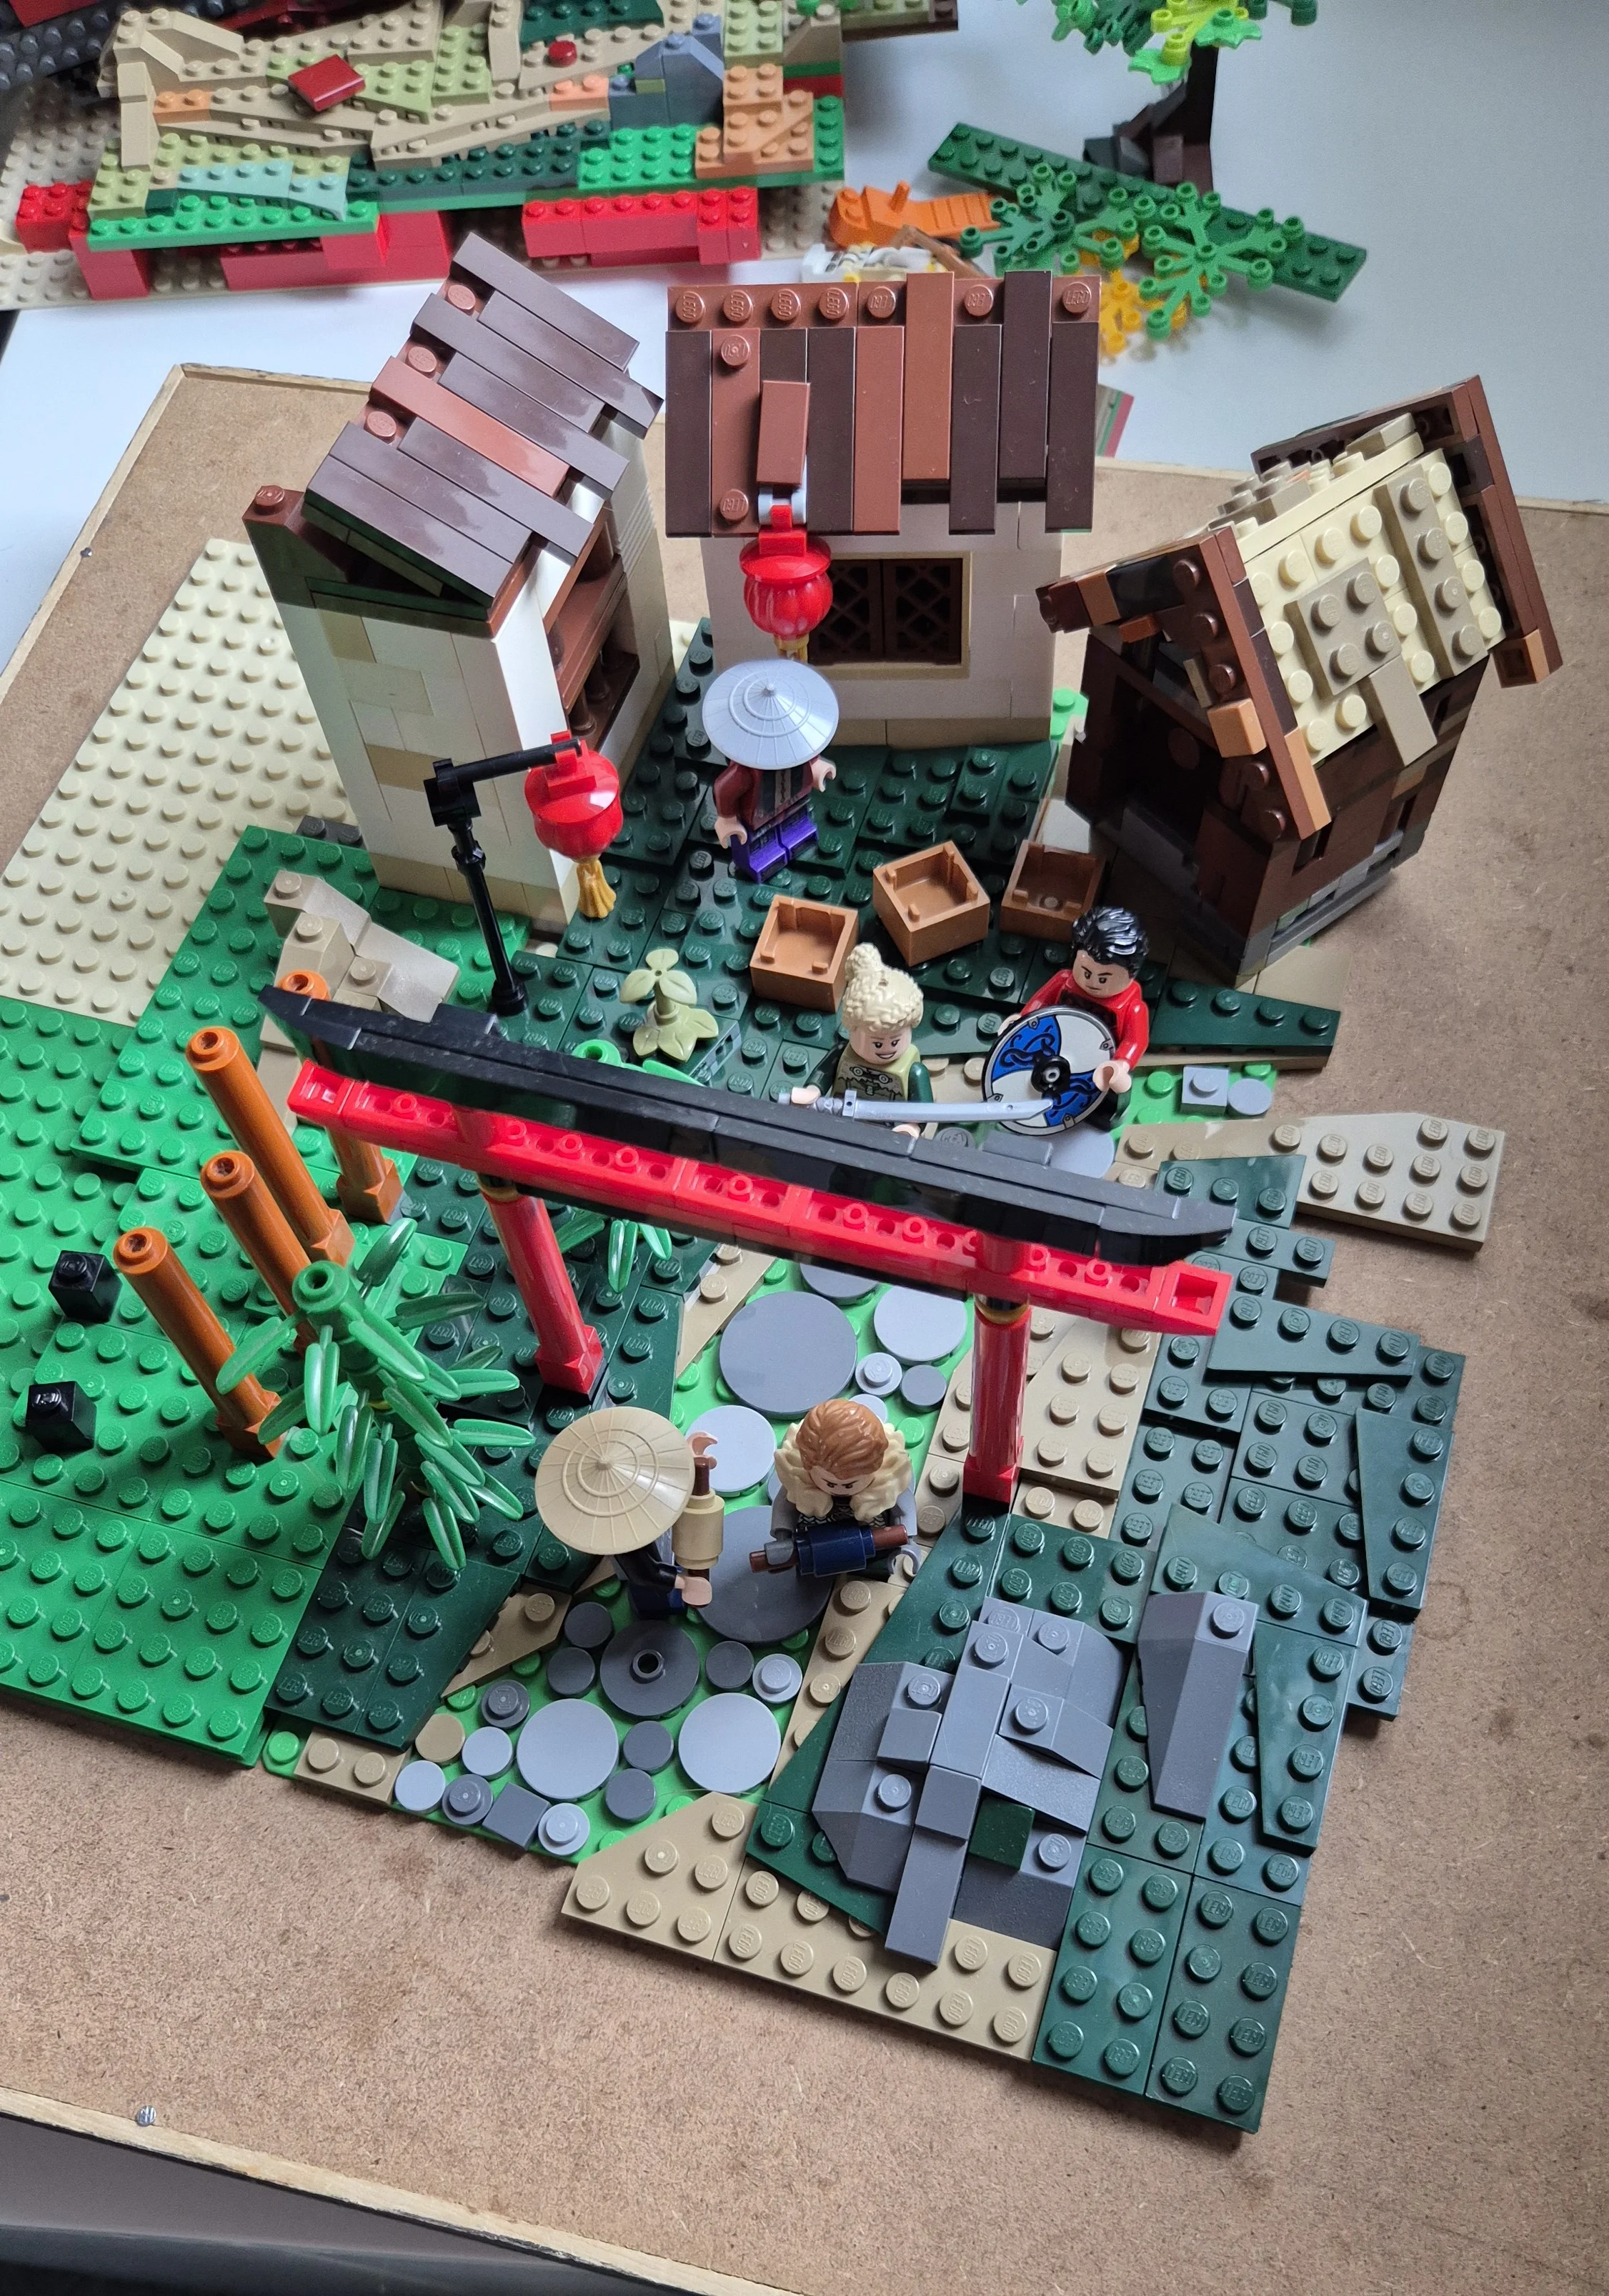
What this means for your own builds:
- Decide what the camera will see before you build. Only spend bricks on what ends up in the frame.
- Get close and low. A tight, low angle fills the frame and makes a small scene feel big.
- Use framing instead of size. What you leave out of the photo does as much work as what you build.
Want a night-time look?
A dark background makes close-ups feel like a scene at night. My guide on close-up photos with a black background on a budget shows a simple way to do it.
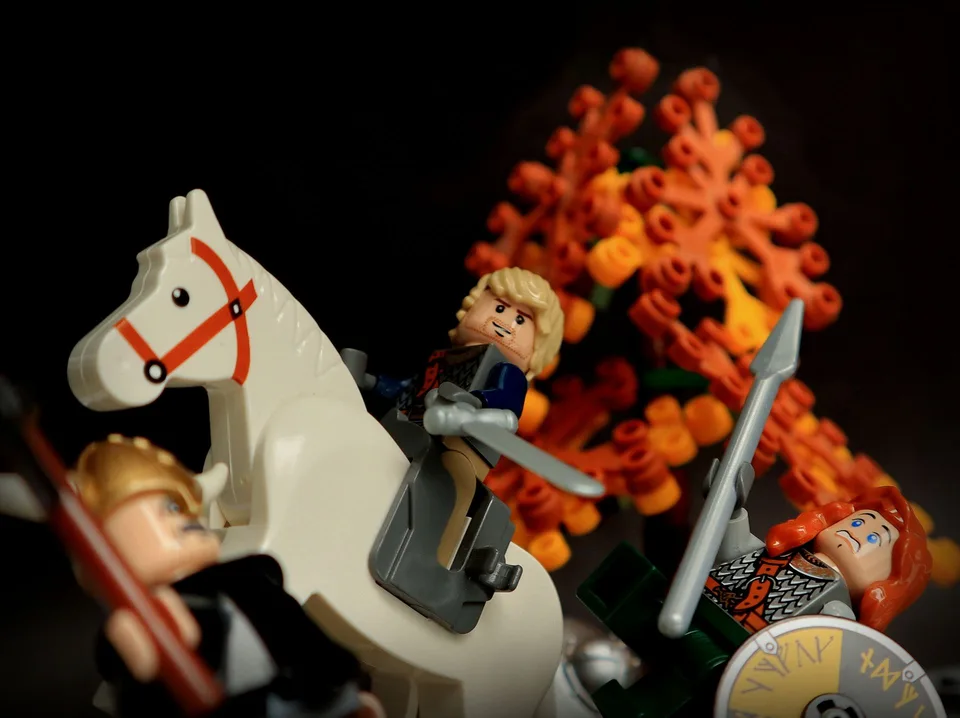
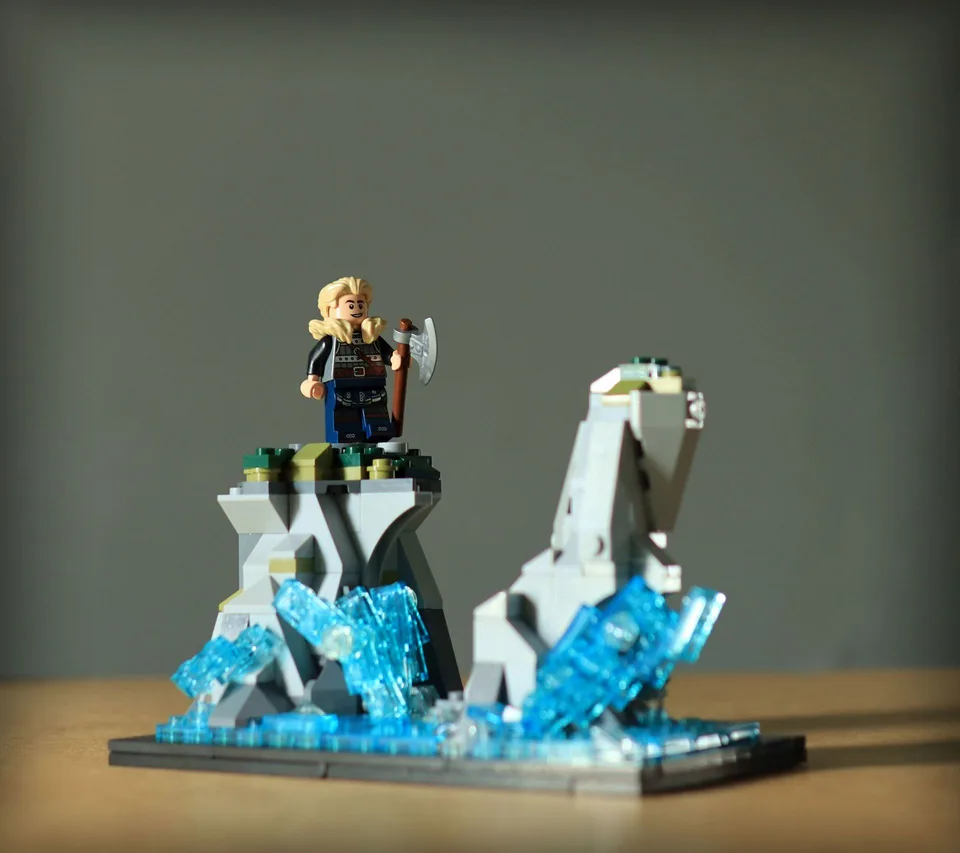
Experiment with different settings and backgrounds, and soon you will have a gallery of detailed minifigure portraits. For examples of close-up scenes, browse the Viking builds or the Adventurers builds.
Comments
No comments yet.